Professional maternity pics are beautiful…but they can also be pricey 🤑🤑, and after the baby arrives we tend to not look at these pics much again. Now if you’re anything like me, I love a diy photoshoot! But even if this is your first one, let me show you how simple it can be, no professional camera needed!
Here are the 5 steps:
- Pick your place
- Pick your outfit
- Gather your materials
- Take your pics!
- Choose your favs!
Let’s break them down!
1. Pick your place
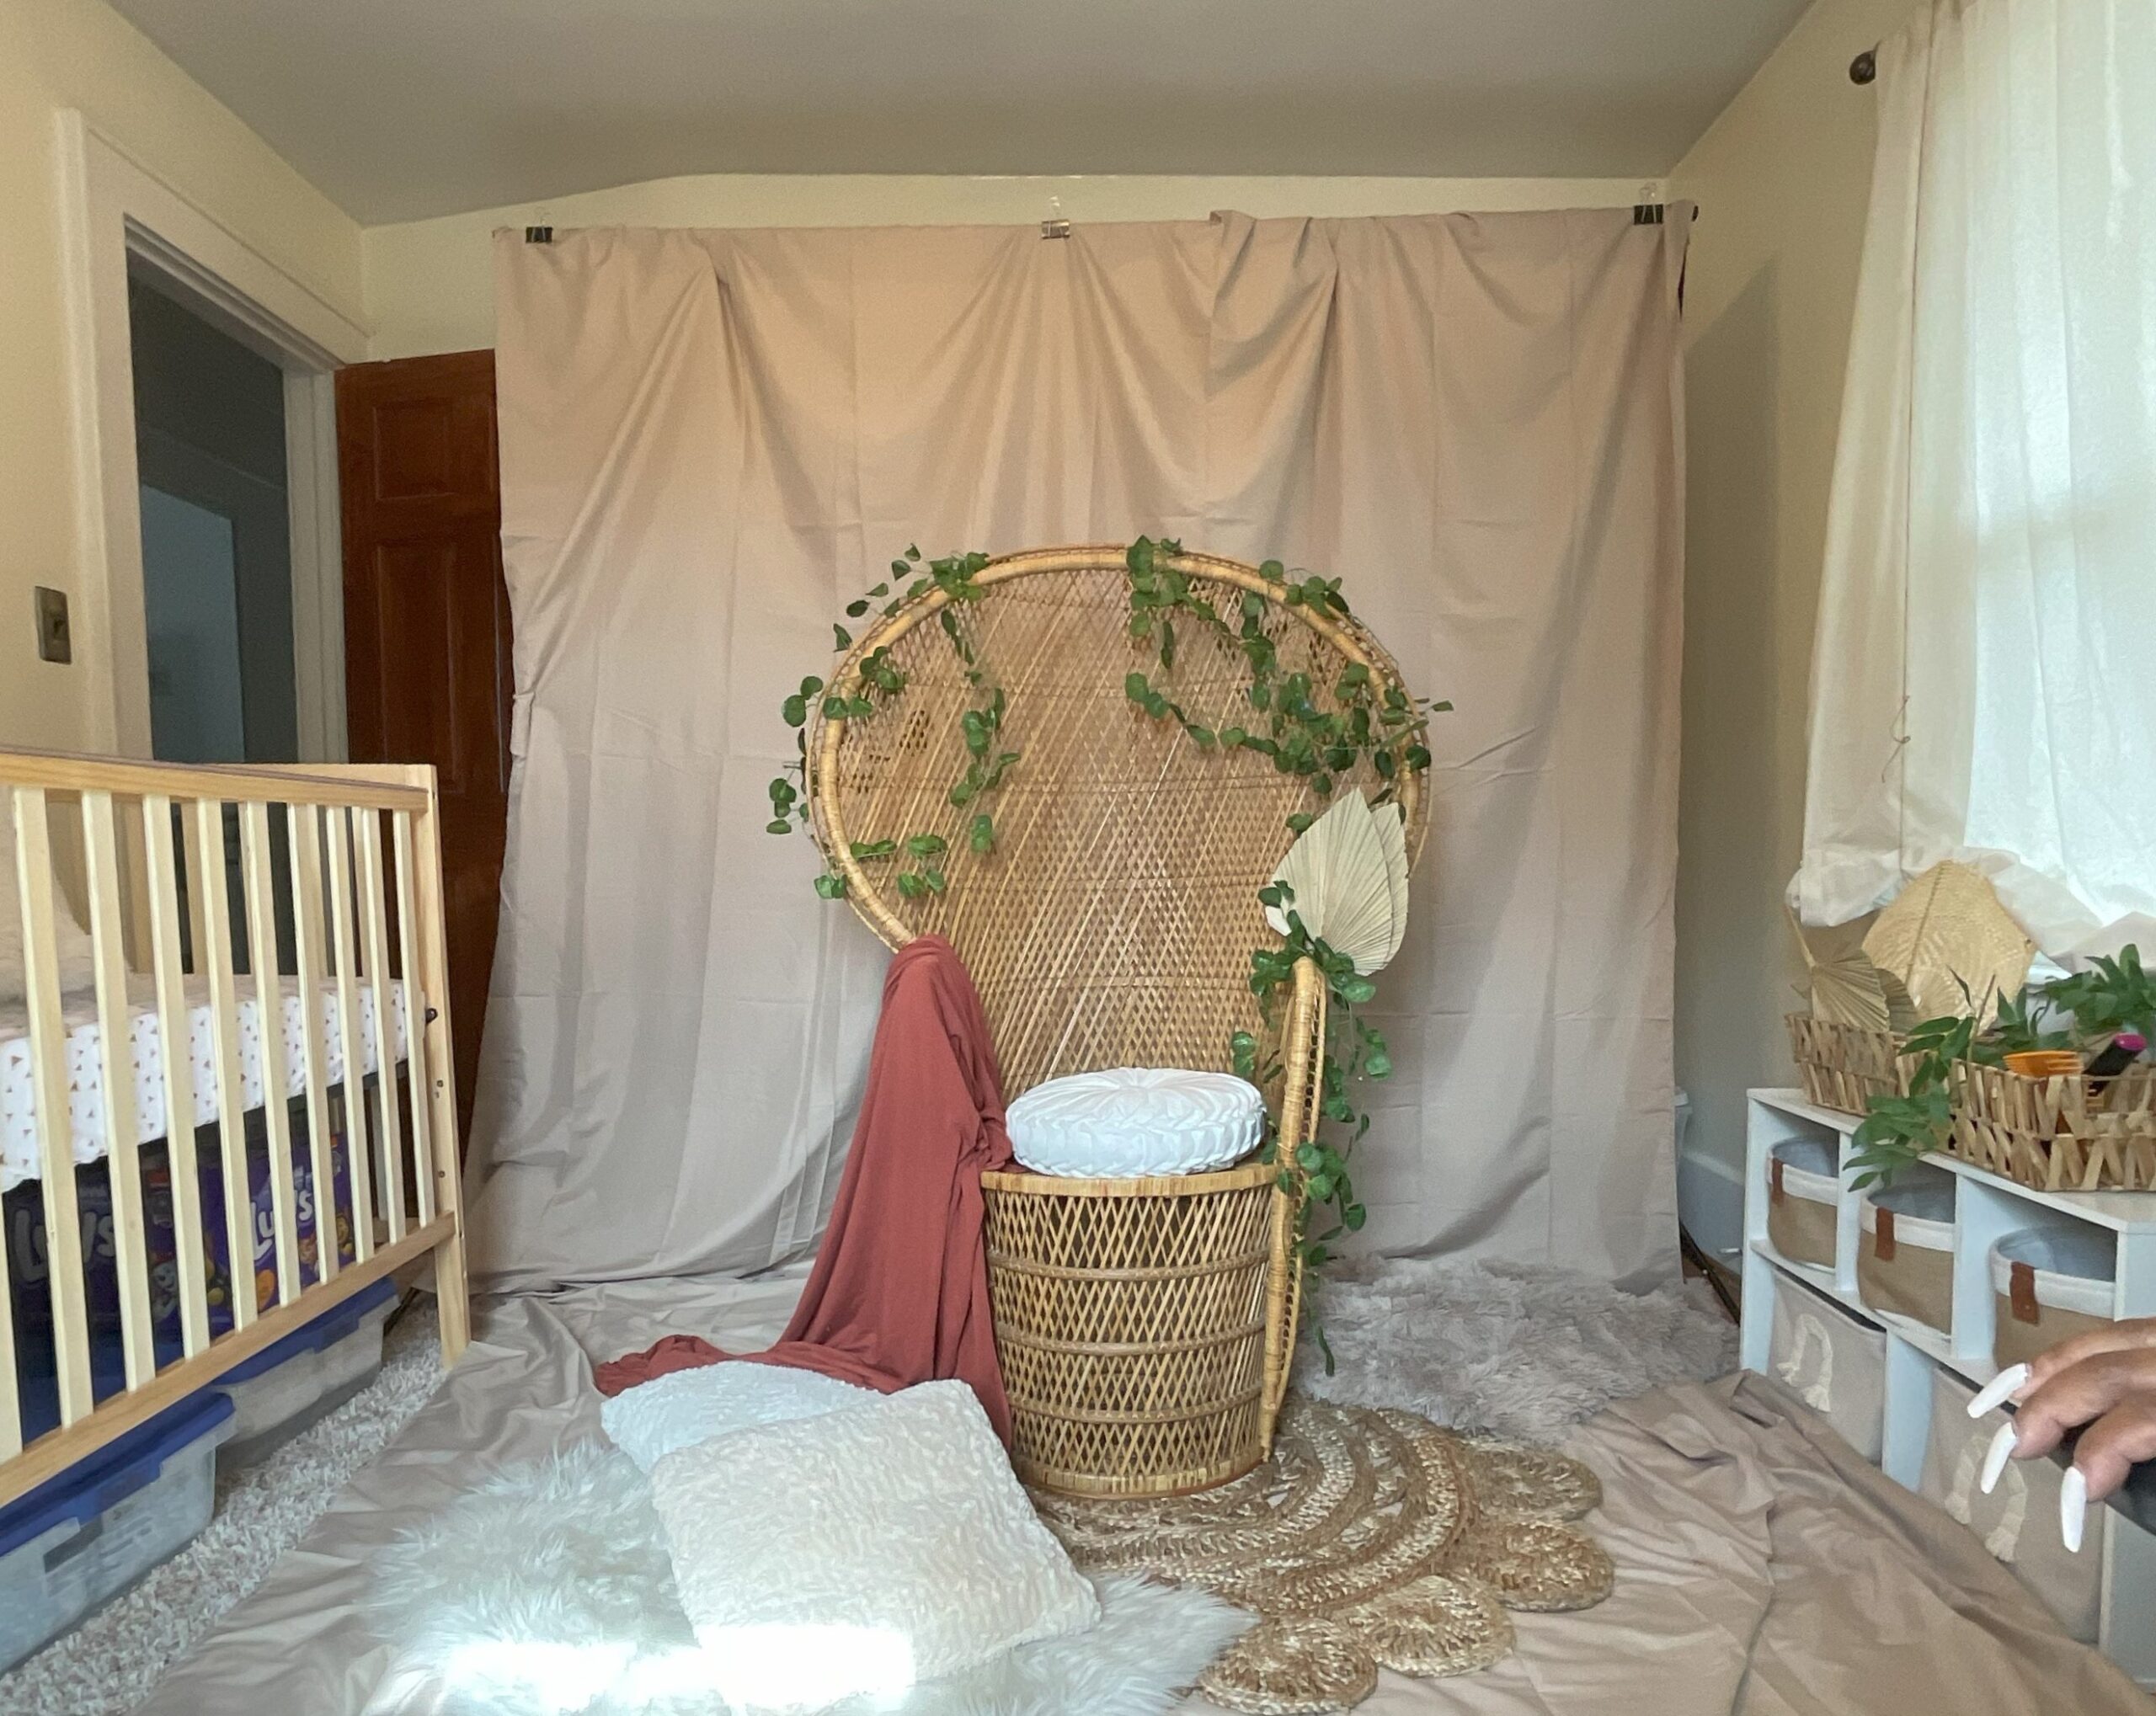
Indoor or outdoor? It can literally be as simple as using a blank wall in your house. I actually used my sons nursery, it gets great light and had just the right amount of space that I needed and it felt more special to be in his future room.
Look for Natural Beauty
- Outdoor locations like parks, gardens, beaches, or forests provide beautiful backdrops with minimal effort.
- Consider the time of year and the season’s colors—spring flowers, summer sunsets, fall leaves, or winter snow can add a magical touch to your photos.
- Bonus: Natural lighting outdoors makes for stunning, glowing photos.
Stay Close to Home
- Your backyard, a local park, or even a cozy corner in your home can work perfectly for a more intimate vibe.
- A home photoshoot is especially ideal if you’re nearing your due date and want to stay comfortable.
Make It Personal
- Think about places that have sentimental value, like the spot where you and your partner had your first date or your favorite quiet retreat.
- A familiar location can make you feel more at ease, which will shine through in your photos.
Keep Lighting and Space in Mind
- Lighting: Choose a spot with good natural light, such as a location with open shade or golden hour (just before sunset or after sunrise).
- Space: Make sure there’s enough room for you to pose comfortably and for the photographer (or your tripod) to move around.
Consider Privacy
- If you’re not comfortable posing in front of strangers, opt for secluded areas like a private garden or a less busy time at a park.
- Your home offers the ultimate privacy and control
Pro Tip:
Scout your location ahead of time and take a few test photos to ensure it fits your vision and lighting needs.
2. Pick your outfit
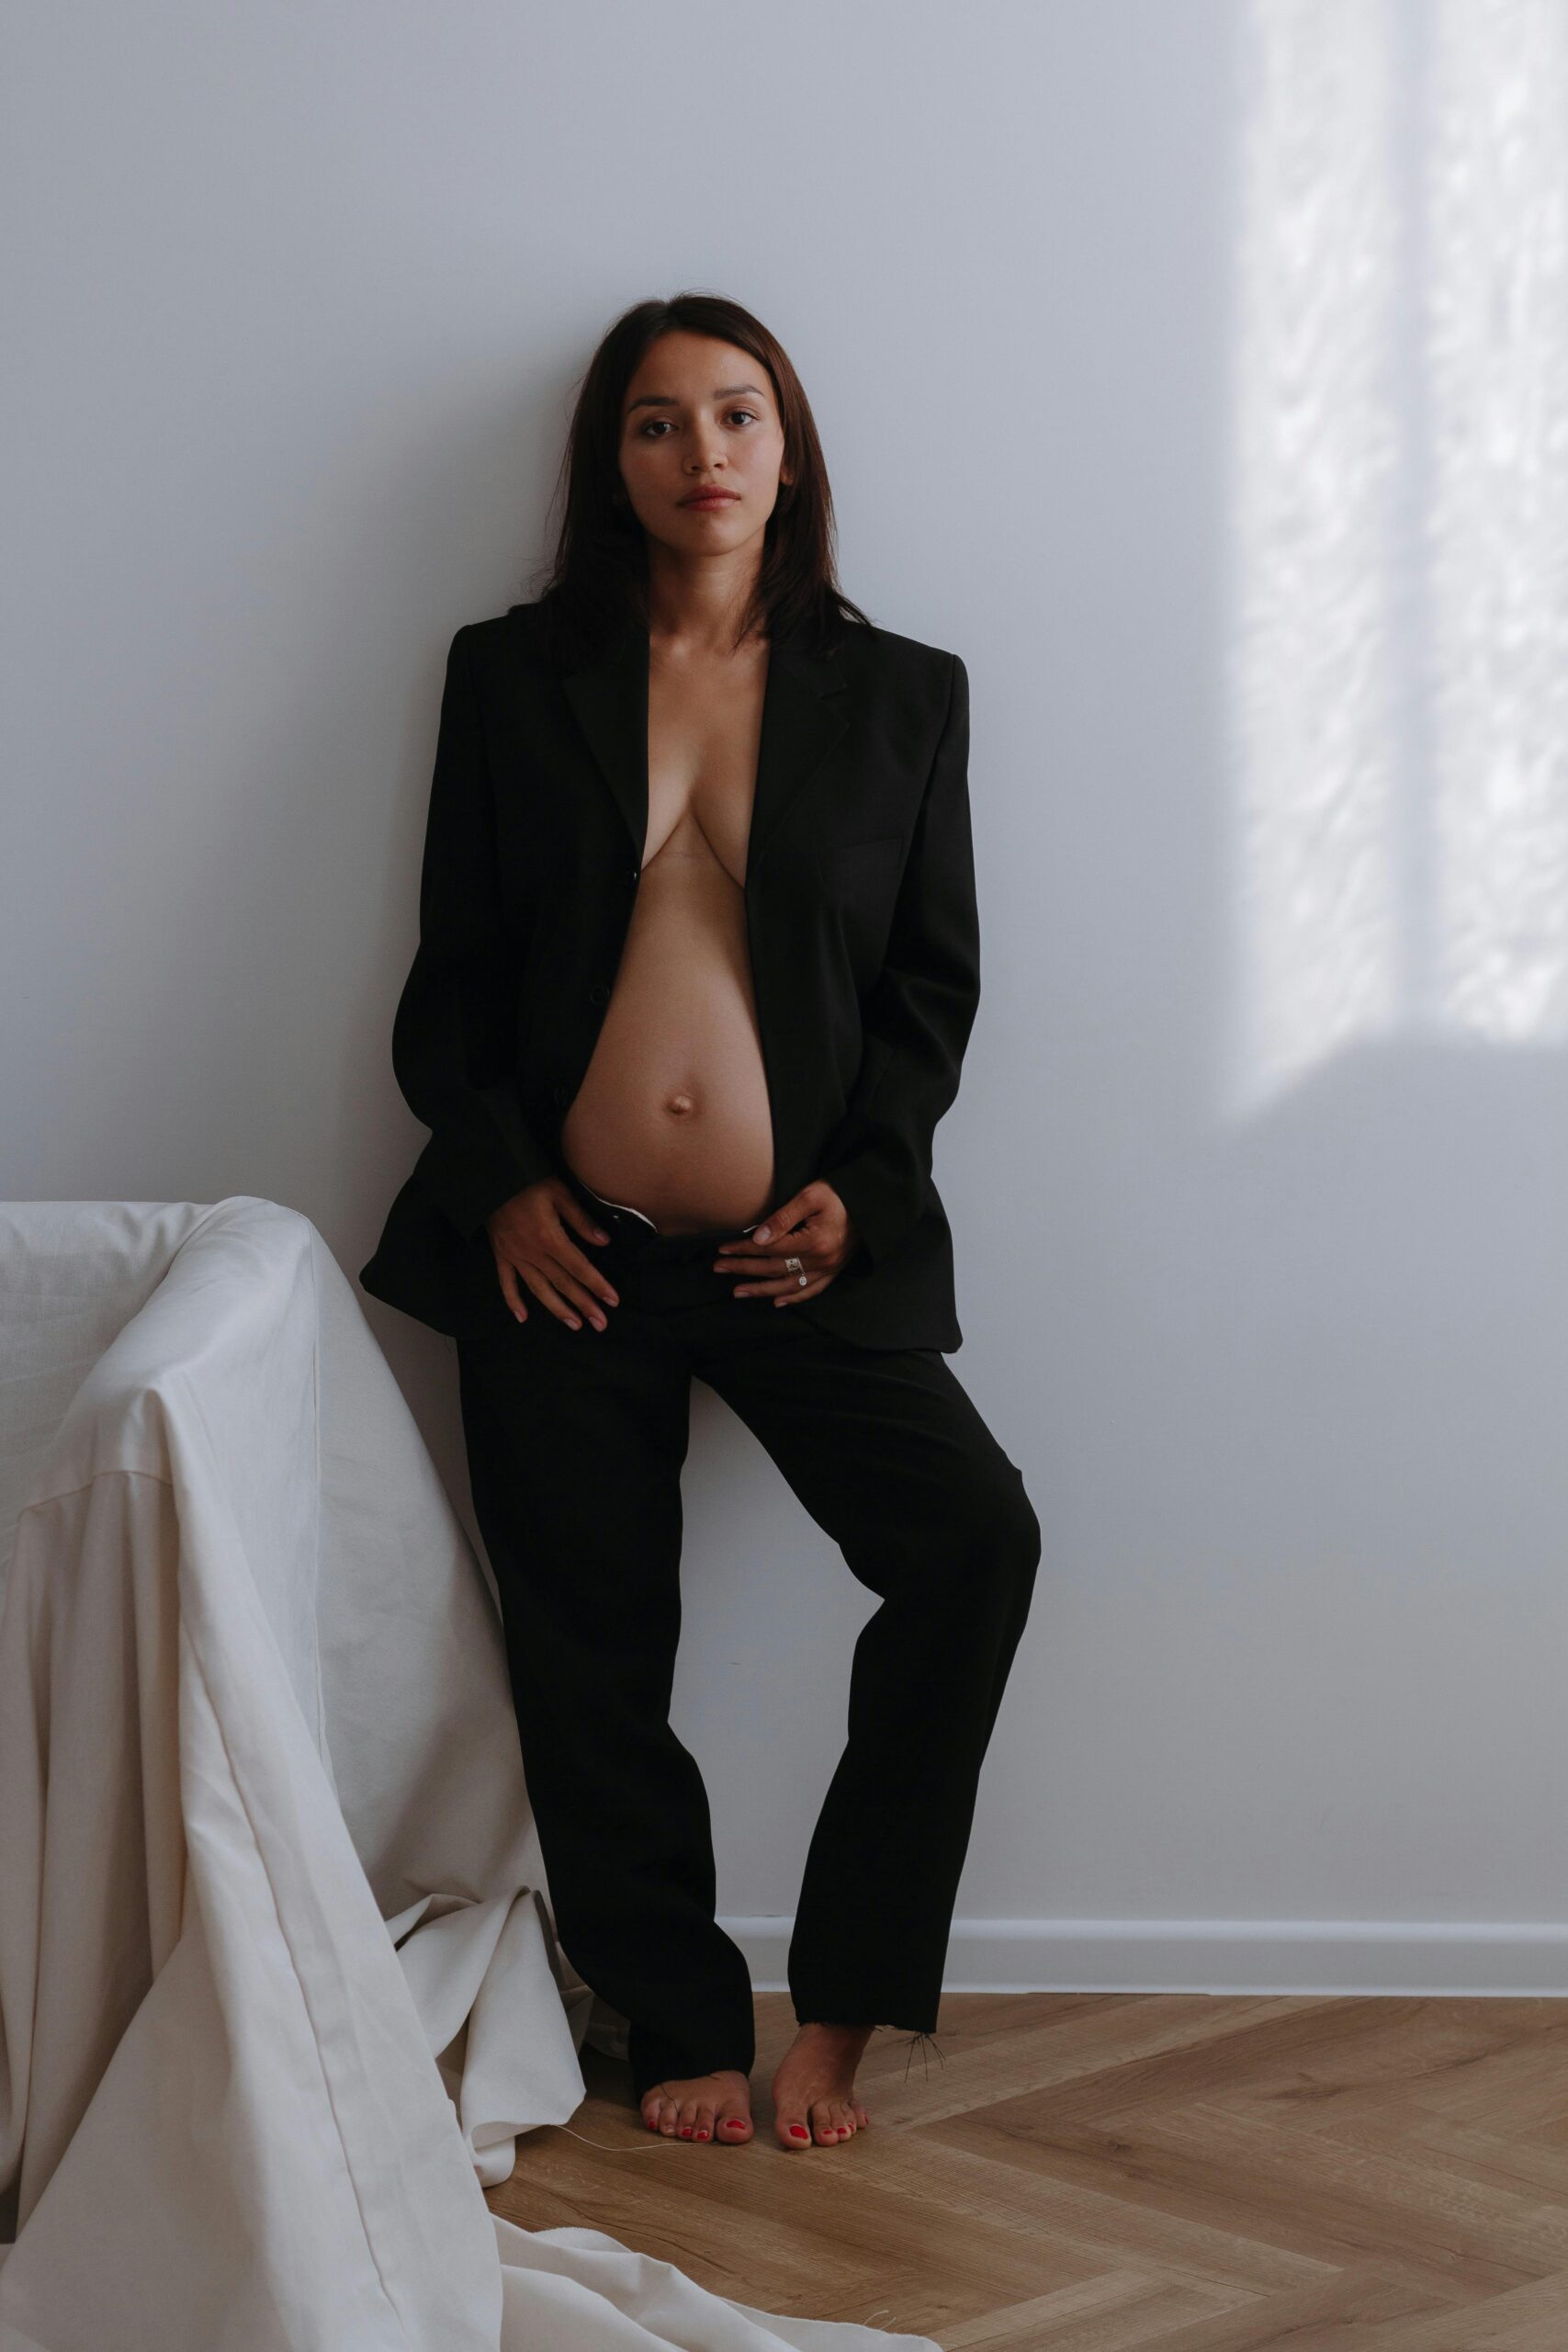
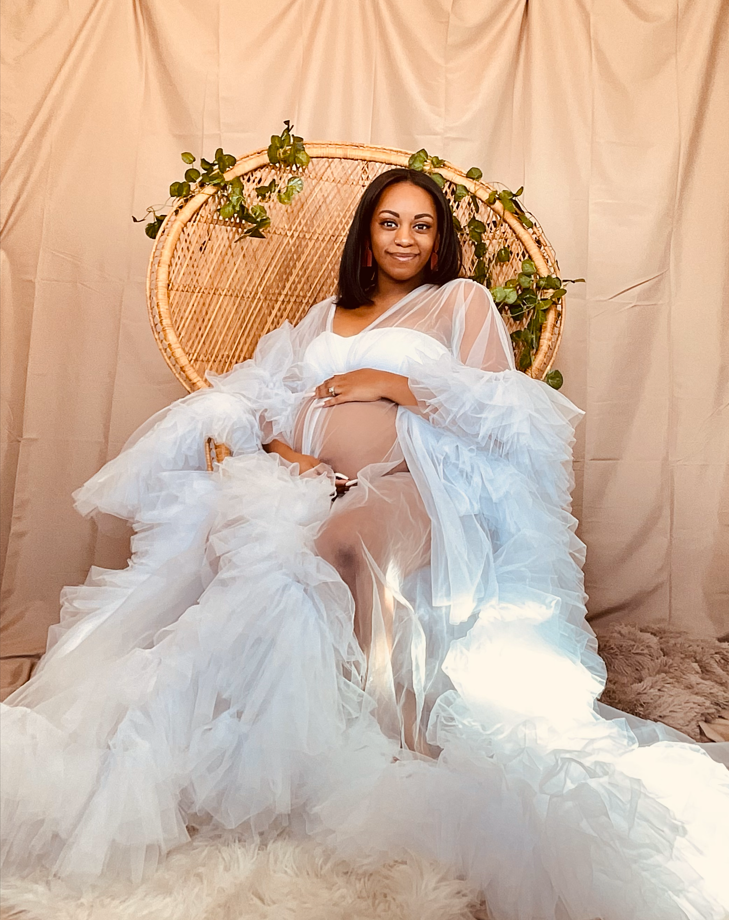
Ok this is where you get on Pinterest and pull those inspo pics, what’s the vibe? Belly or no belly? When I was younger I used to say I’d never take maternity pics with my stomach out because I hated the way it looked (we listen and we don’t judge 😆). Now looking at Rihanna’s pics throughout her pregnancy I’m thinking yassss, show it off! So you have to decide where you fall. After I found my vibe I headed over to Amazon to purchase this beauty that I’m still so in love with!
Prioritize Comfort and Confidence
- Select outfits that make you feel beautiful and allow you to move comfortably. Your comfort will translate into more natural and glowing photos.
- Look for flowy dresses, stretchy fabrics, or fitted gowns that highlight your baby bump.
- Avoid anything too tight or restrictive that could make you feel uneasy during the shoot.
Keep Colors and Patterns Simple
- Neutral or soft pastel colors work well to create a timeless and elegant look. Think whites, creams, blushes, or light blues.
- Avoid busy patterns or logos, as they can distract from the focal point—you and your bump!
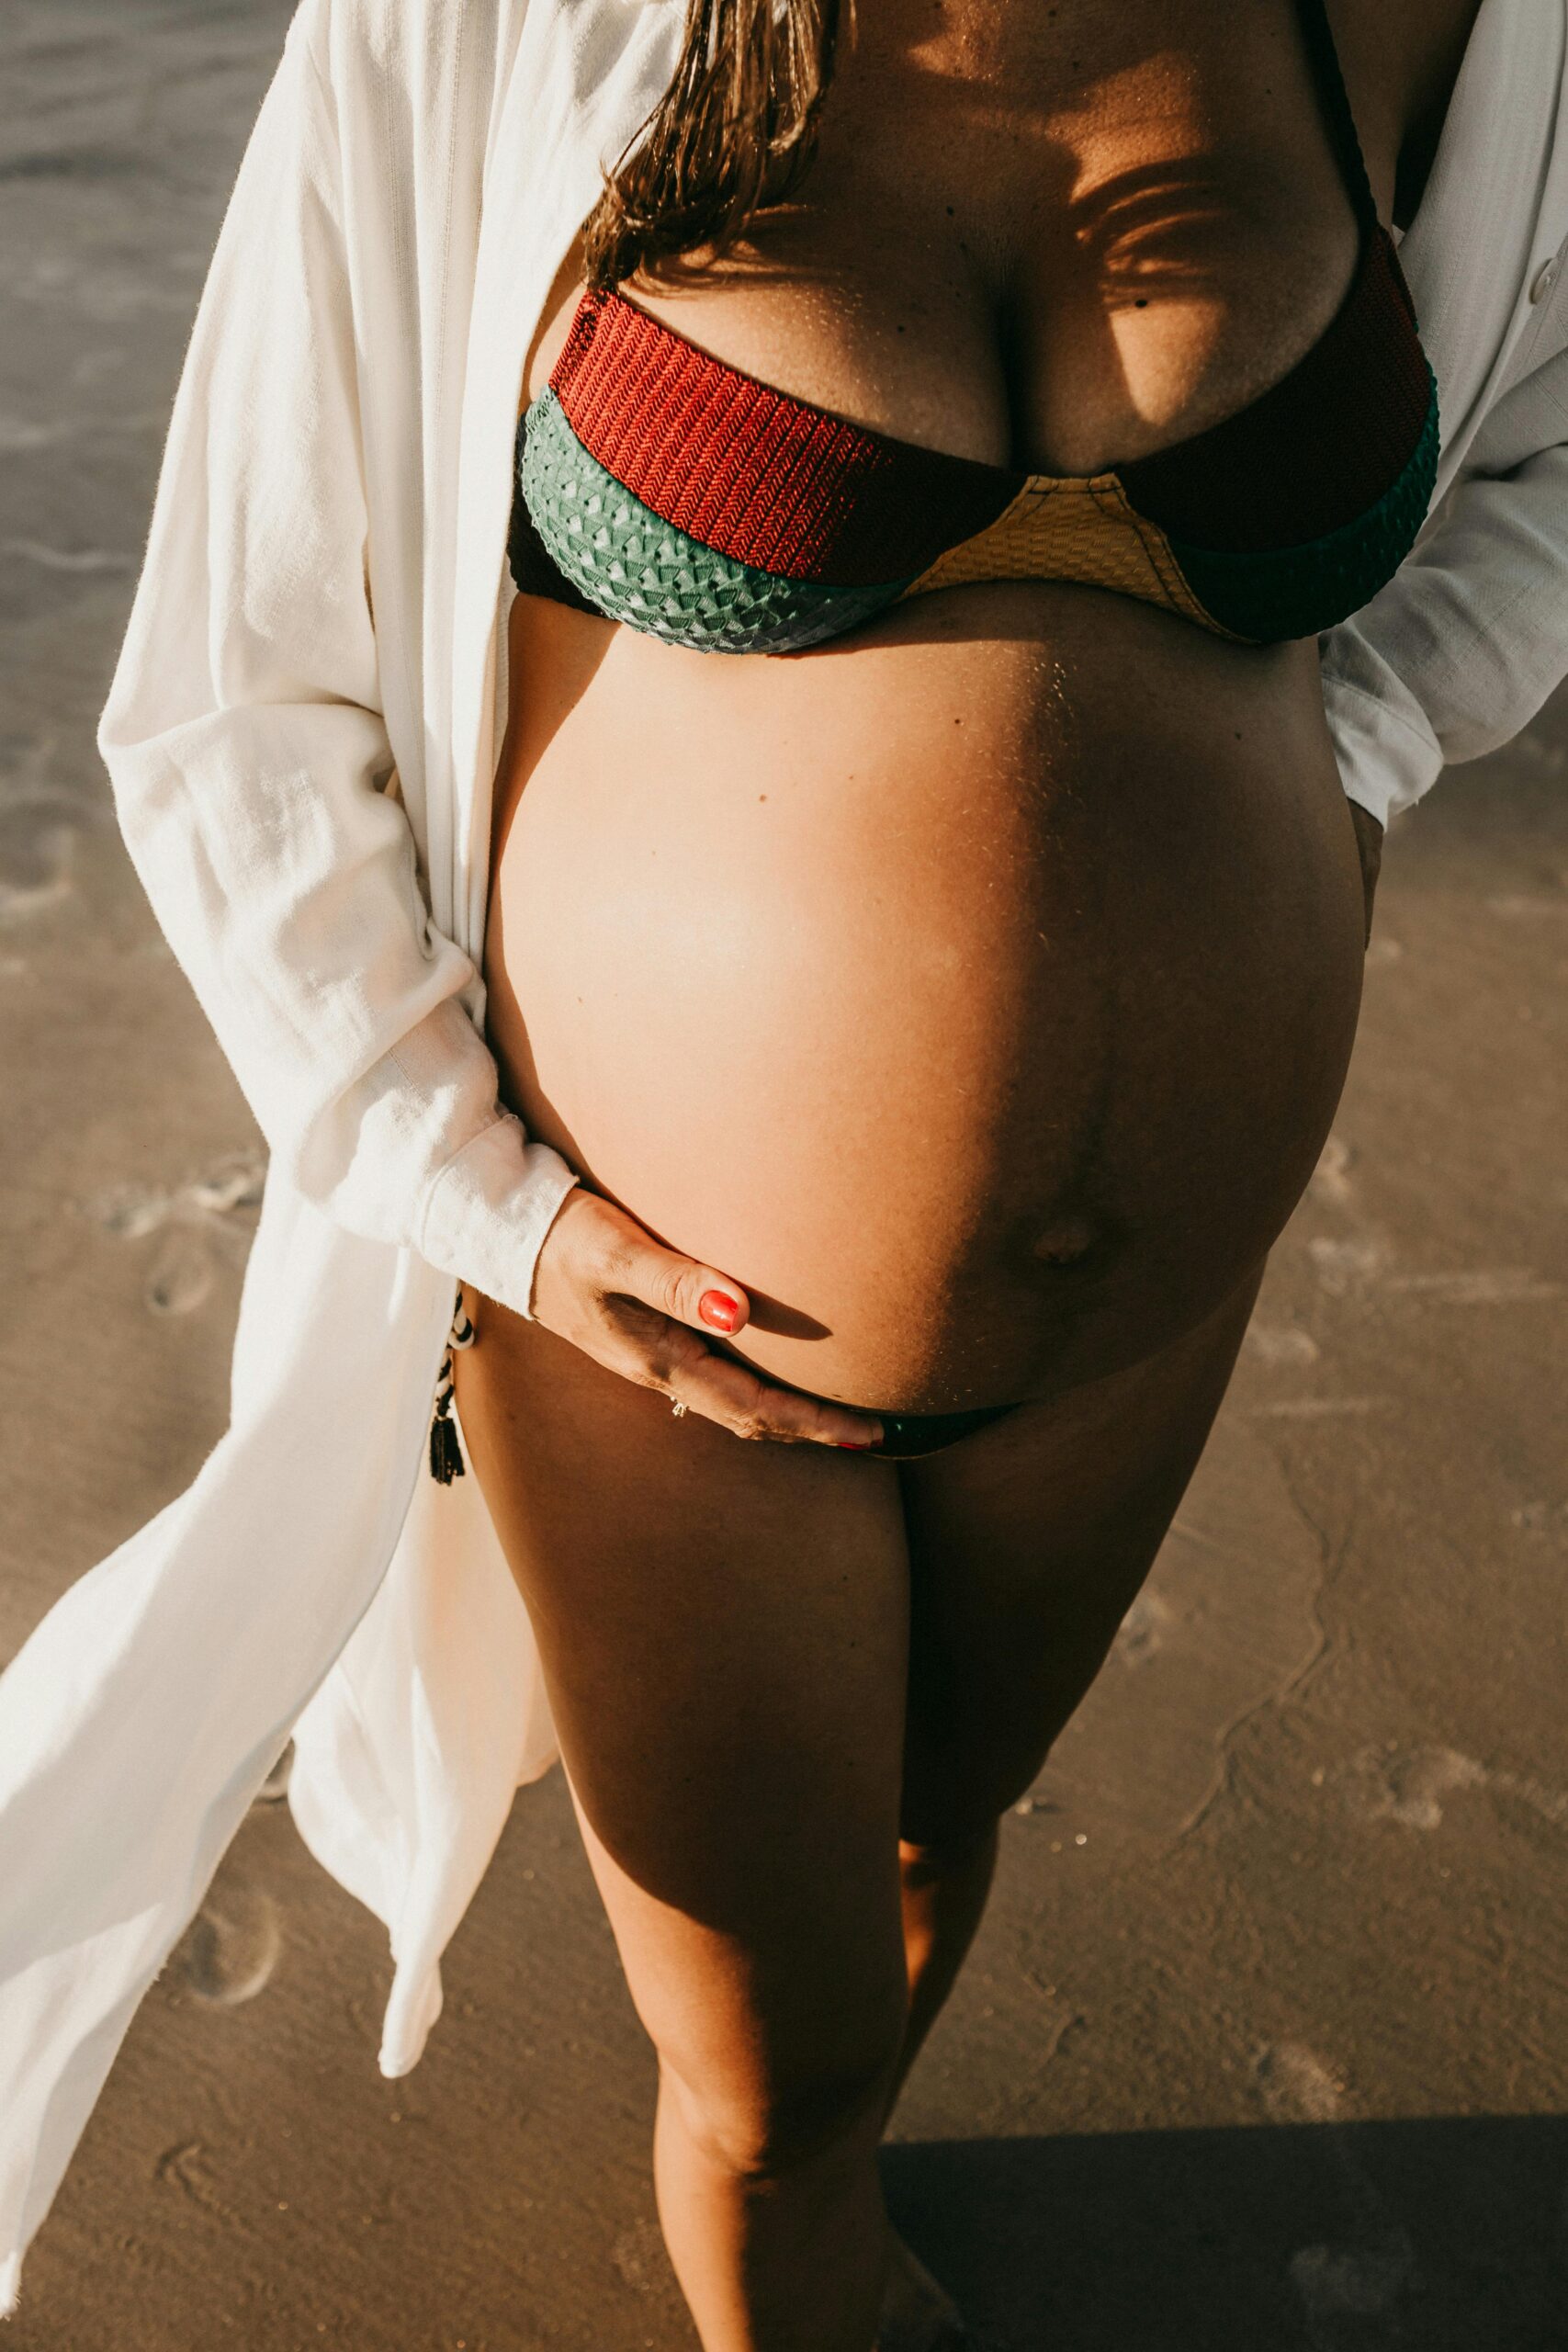
- For outdoor shoots, choose colors that complement your surroundings (e.g., earthy tones for a forest, light blues for the beach).
Add Personal and Stylish Touches
- Incorporate accessories like flower crowns, statement jewelry, or scarves to elevate your outfit.
- Consider including personal elements, such as a sash with your baby’s name or an heirloom piece, to make your photos more meaningful.
- Barefoot looks can add a natural and ethereal feel, especially for beach or grassy locations.
3. Gather your materials
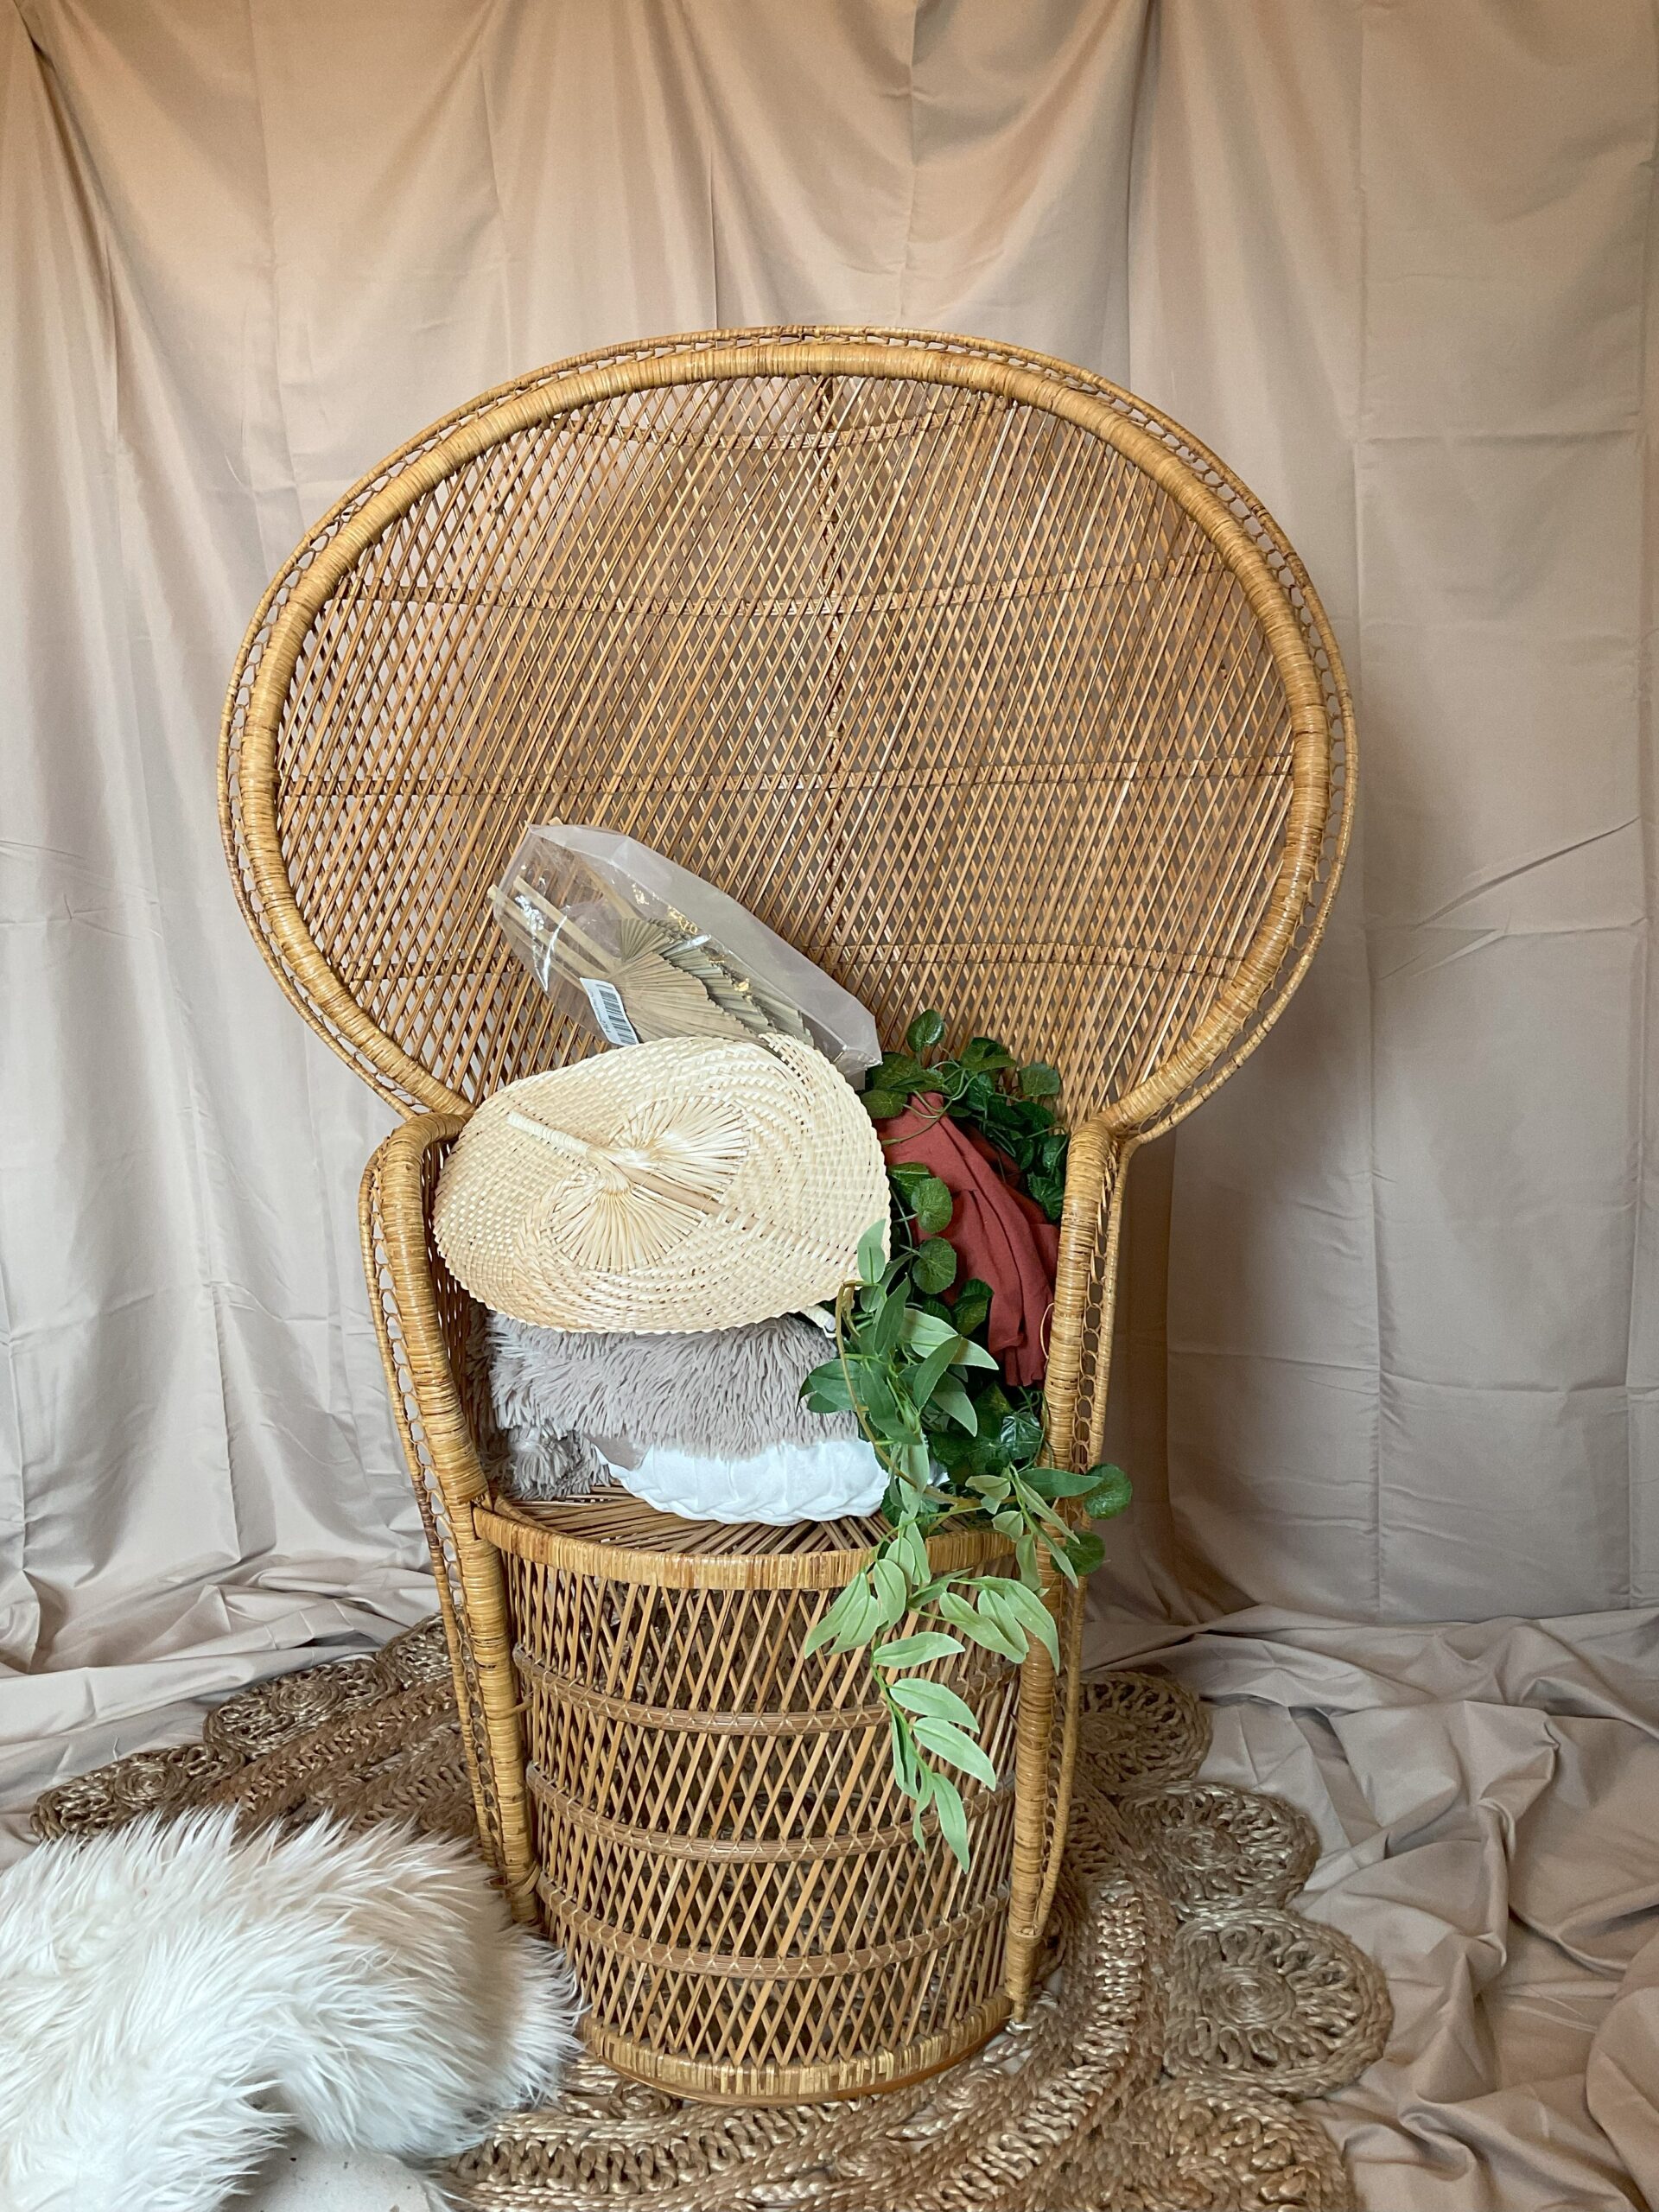
Now based on your inspo pics, you can decide what you need…if anything at all. All of my materials actually came from my house! I used binder clips to secure a bed sheet to a backdrop stand and another one on the floor. Then I grabbed some rugs, pillows, blankets, boho looking decor, and fake greenery that I had laying around the house. Believe it or not, I scored this rattan peacock chair off of eBay the year before for cheap and voila, the scene was set!
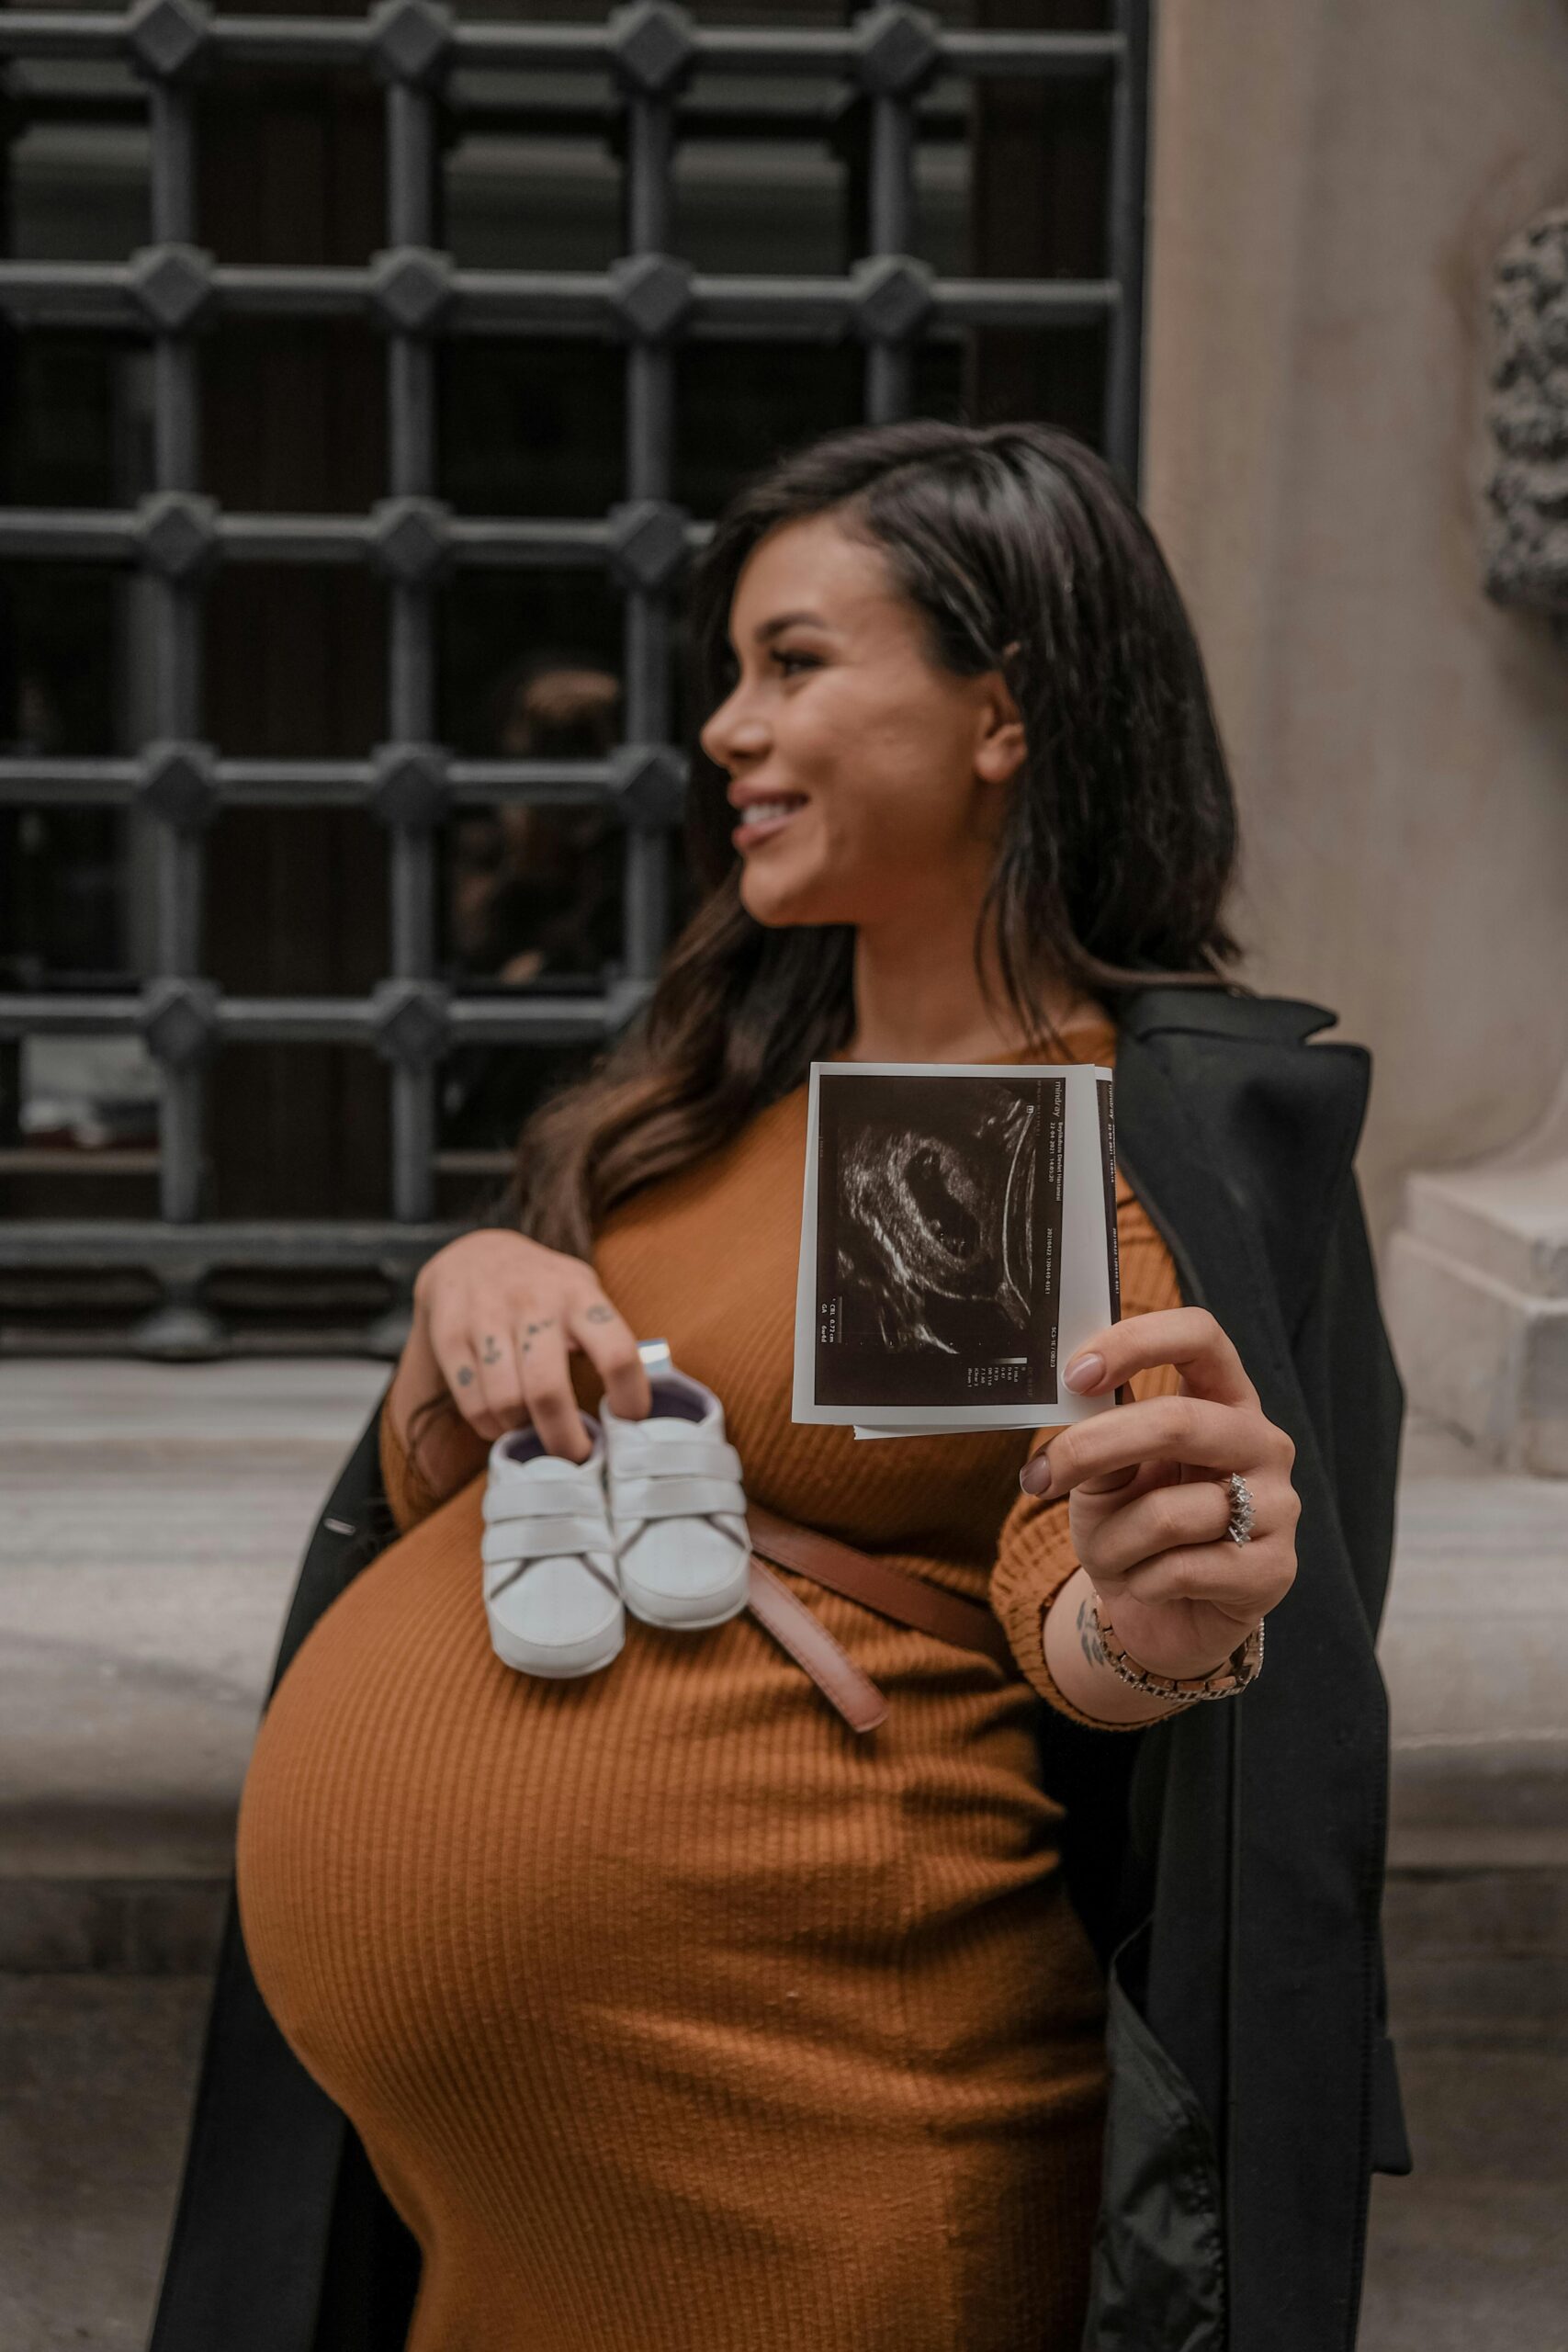
Use Simple, Versatile Props
- Props can enhance the story of your maternity shoot but don’t overdo it—keep them simple.
- Popular options are baby shoes, ultrasound pictures, or a chalkboard sign with your baby’s name or due date.
- Natural elements like a bouquet of flowers or a cozy blanket can add charm and elegance without overwhelming the scene.
Consider the Setting and Theme
- Choose props that match the vibe of your location and the tone you want to convey. For example:
- Outdoor shoot: A picnic blanket, lanterns, or a floral wreath.
- Indoor shoot: A comfy chair, fairy lights, or a cute stuffed animal.
- If you’re going for a minimalist look, you might not need any props at all—let your bump and smile do the talking.
- Bring essentials like a tripod (if you’re using one) and a remote shutter for ease.
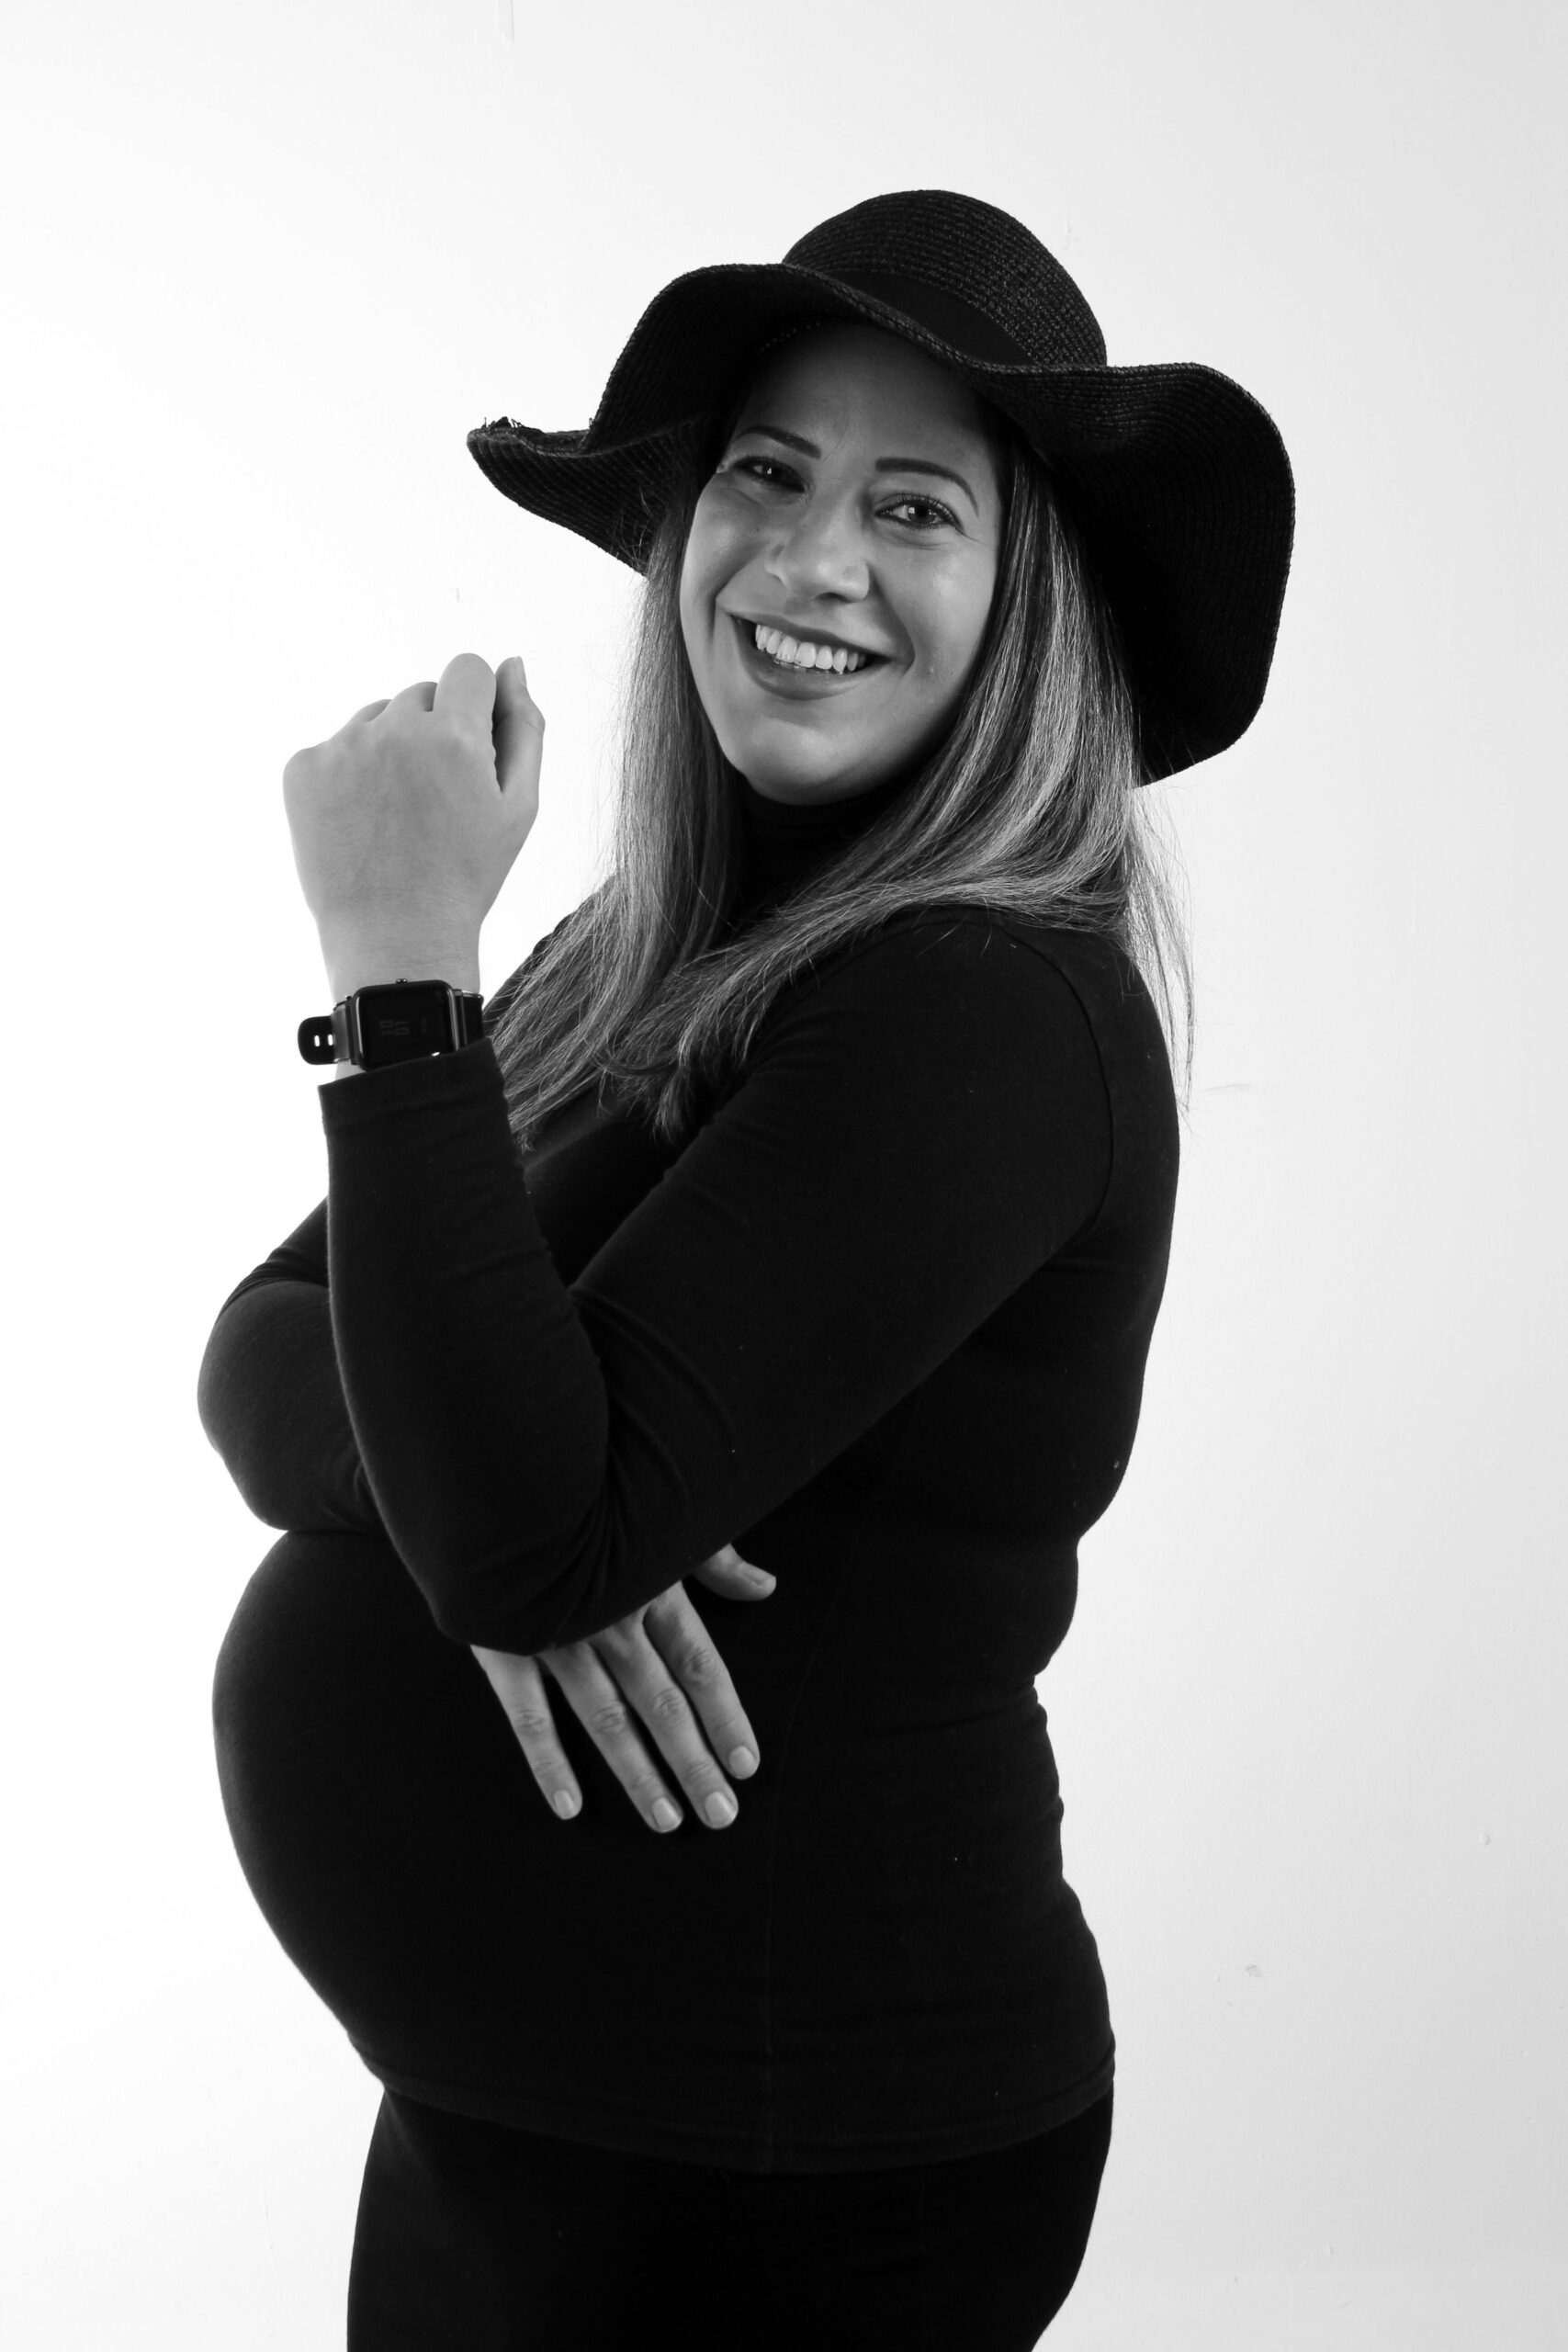
4. Take your pics!
Did you do your hair and makeup? Ok then, throw on that playlist, put that phone on a tripod (if you’re doing it alone like I did) or hand it off to whoever and flick away. Now if you’re alone, some thing like this will definitely come in handy because it comes with a remote that helps you take the pics. I held it in my hand off to the side, you’d never even know. Experiment with different poses, smile, look serious, whatever you want! Take as many as you need and enjoy the process, this is an experience and moment to treasure, you’re about to become a mommy! It’s time to feel beautiful and confident in your changing body 💜💜.
Lean on Natural Lighting for Stunning Photos
If indoors, position yourself near a large window for bright, even lighting. Avoid harsh overhead lights, which can create unflattering shadows.
Take advantage of soft, natural light during the golden hour (just after sunrise or before sunset) for a warm, flattering glow. Mid-afternoon light works well too!
Switch it up!
- Play around with angles and framing. For example, capture a side profile to showcase your bump or use a lower angle to make the background more dramatic.
- Use props or the scenery to add layers to your photos—for instance, position yourself in front of trees, flowers, or fairy lights for depth and charm.
5. Choose your favs
Ahhh my favorite part. One of the best parts about a diy shoot is that you aren’t tied to only getting a select number of pics or prints. You can choose as many as you like! I decided to go with my fav 4, I shared them on social media, and always promised myself to get them printed out…I didn’t…but you will right??
Edit Your Photos
- Once you’ve chosen your favorites, enhance them with basic editing tools to adjust lighting, contrast, or colors for a polished look.
Create Keepsakes
Consider turning your favorites into thoughtful gifts for loved ones, like a card for your partner or a keepsake for grandparents-to-be.
Don’t let those beautiful photos live only in your phone (like me)—get them printed on canvas, framed, or included in a photo book to display in your nursery or home.


I enjoy the succinct style you communicate information on your website. Keep up the fantastic work.
You’ve managed to combine expertise with a conversational approach, making it a delight to read.
I find your voice genuine and easy to relate to; it resonates strongly with me.
It is perfect time to make some plans for the future and it is time to be happy.
I’ve learn this put up and if I may I wish to recommend you some fascinating things or suggestions.
Perhaps you can write next articles referring to this article.
I wish to read even more things about it!
Your blog is always a great source of information and inspiration. Thanks for sharing your thoughts and ideas.
I loved reading the blog! Very great tips when having your own maternity photo shoot!
You always seem to address the relevant topics that I’m keen about. Thank you for that!
Keep this going please, great job!
I feel like I’ve unearthed a rich source of insights through your website. Thank you for sharing it.
Your passion for the subject is evident in your writing.